玄関床タイルの部分補修
![](https://tairuya.com/wp-content/uploads/2023/01/1-576x1024.jpg)
ひび割れ(クラック)の為、貼り替え
特にひどいひび割れだけを今回は貼り替えていきます。
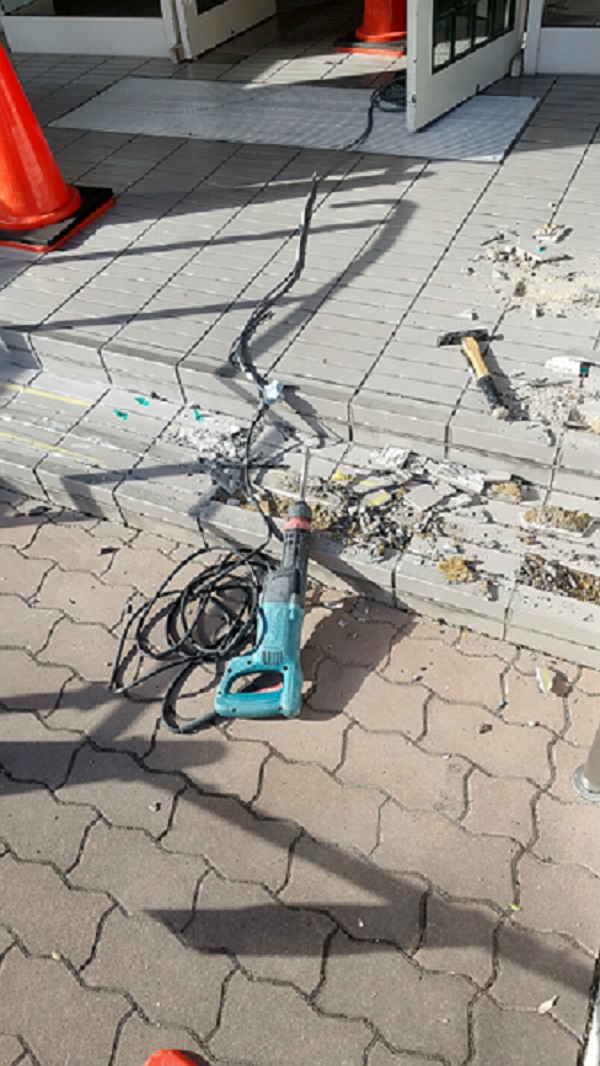
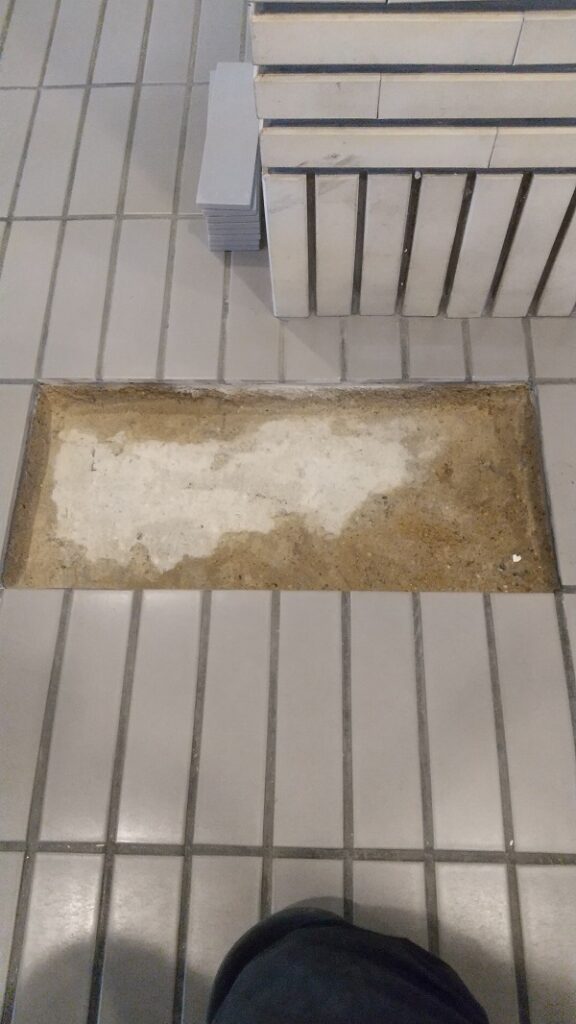
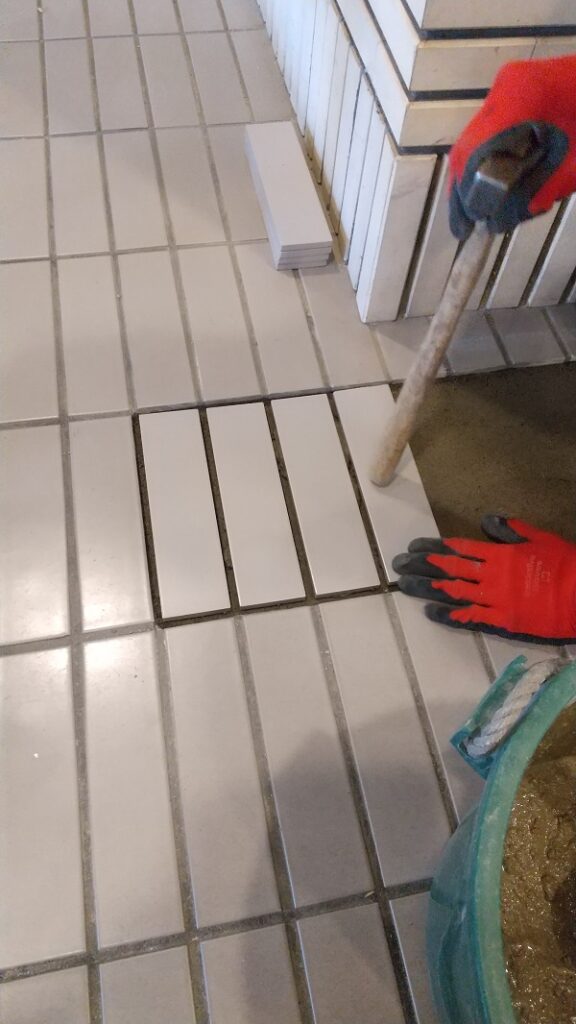
まずは既存タイルの撤去をします。
写真のように電動ハツリ機を使ってタイルと下地を綺麗に撤去していきます。
![](https://tairuya.com/wp-content/uploads/2023/01/2-576x1024.jpg)
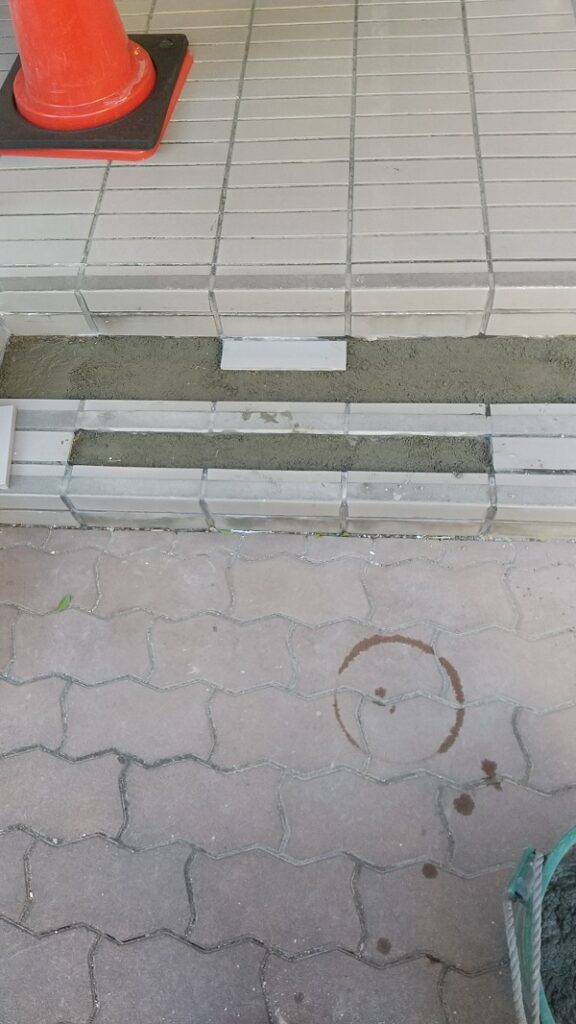
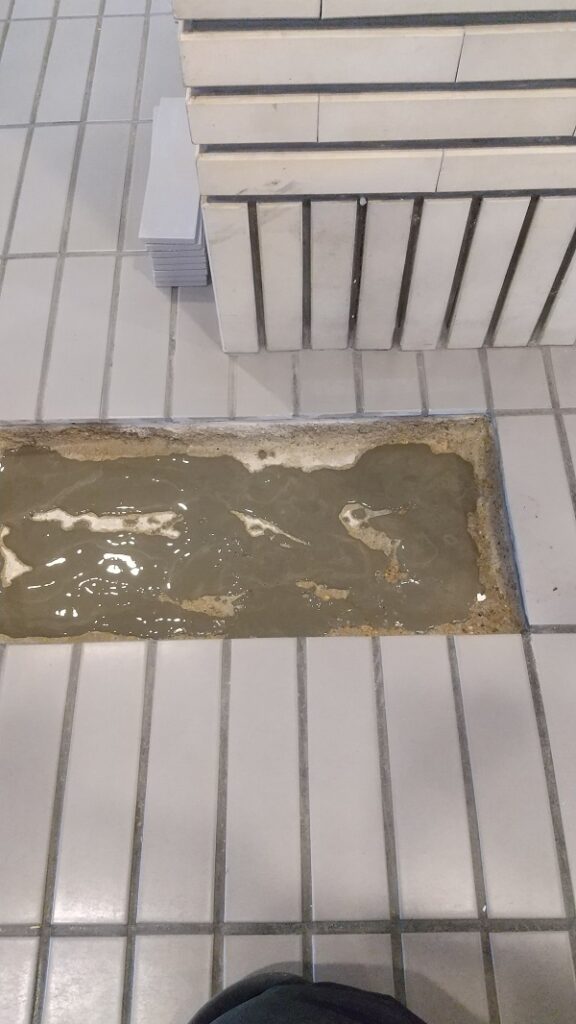
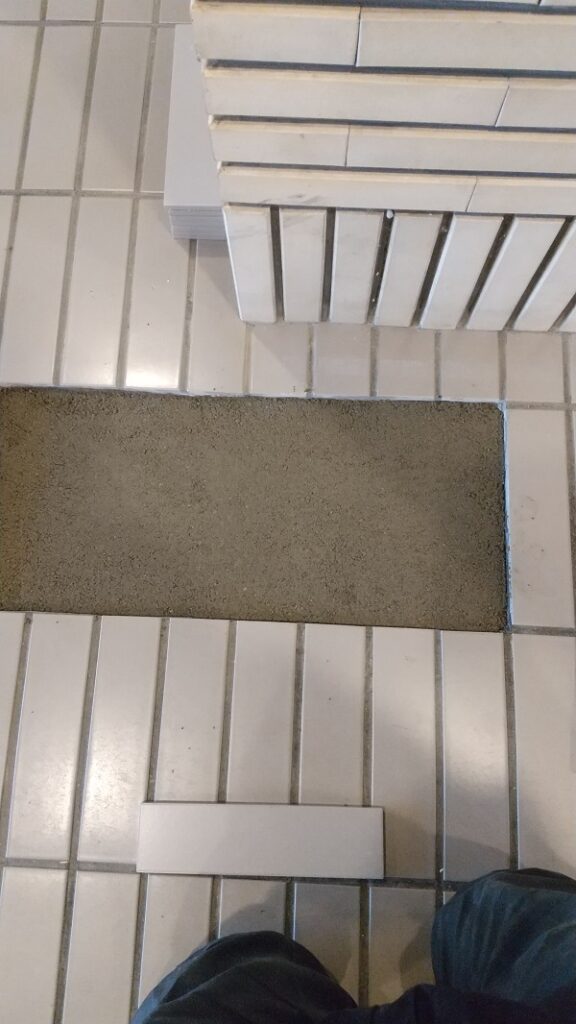
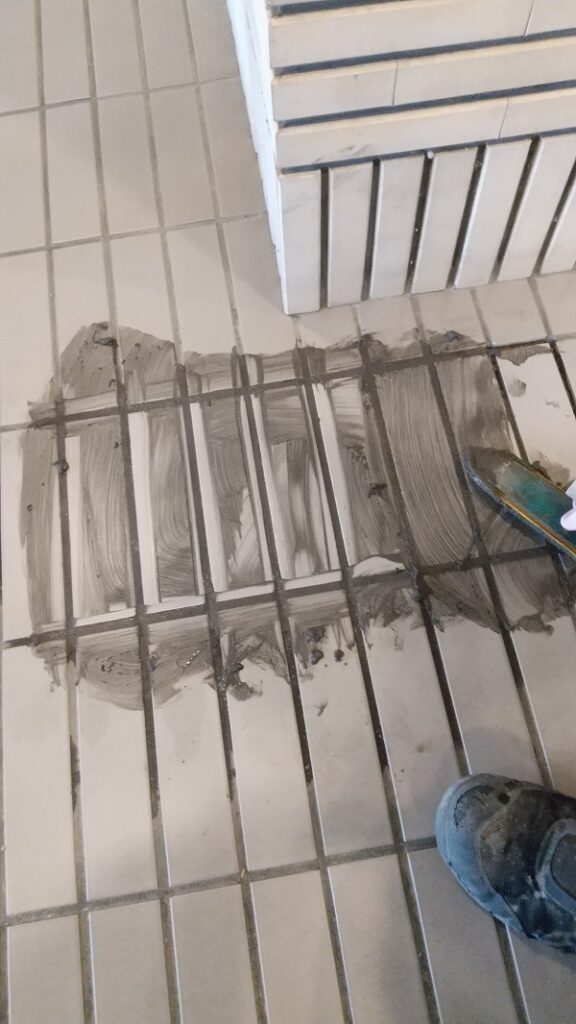
撤去が終わると砂とセメントで下地を作ります。
![](https://tairuya.com/wp-content/uploads/2023/01/3-576x1024.jpg)
新しいタイルを貼る
このタイルは二丁掛タイルという種類で、壁に使われるタイルです。
タイルの表面はつるっとしているので床に使用しているのは初めて見ました!
なので、歩いていてもよく滑り危ないです。
![](https://tairuya.com/wp-content/uploads/2023/01/4-576x1024.jpg)
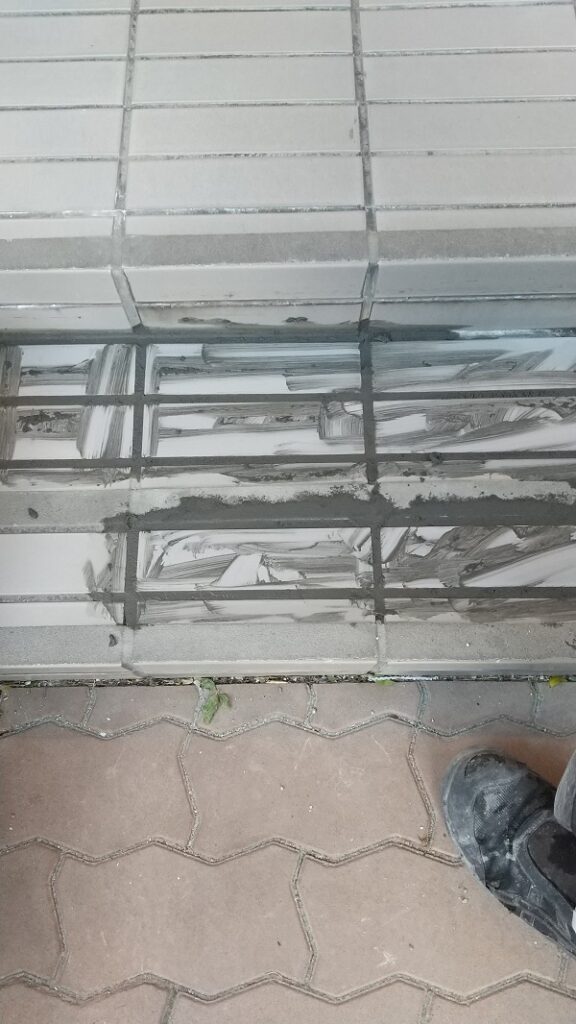
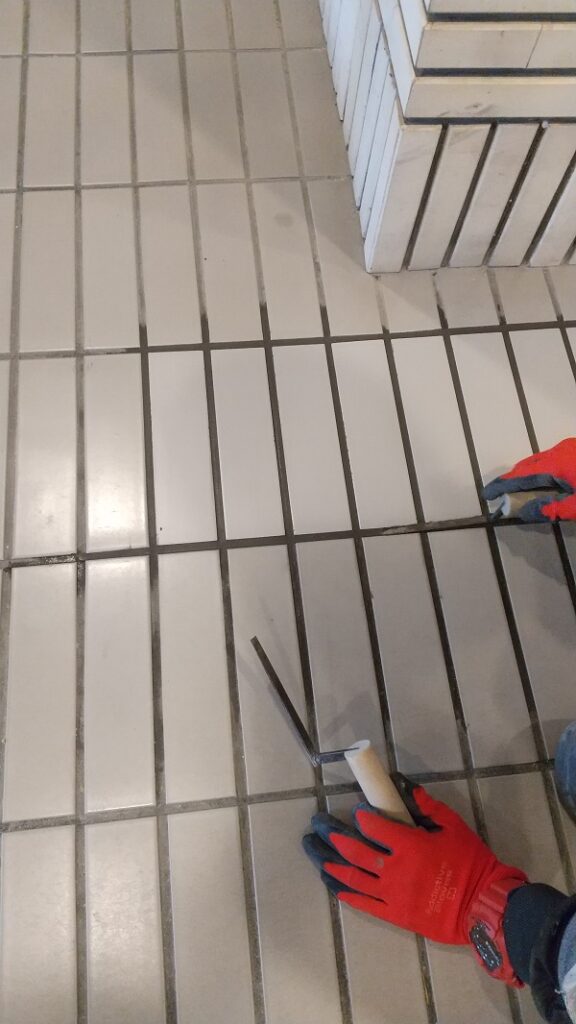
タイルが動かなくなってから目地を詰めていきます。
![](https://tairuya.com/wp-content/uploads/2023/01/5-576x1024.jpg)
目地を洗った後に乾き具合を見て、目地鏝を使って目地を押さえて綺麗に仕上げて完了です。
![](https://tairuya.com/wp-content/uploads/2023/01/6-576x1024.jpg)
![](https://tairuya.com/wp-content/uploads/2023/01/7-576x1024.jpg)
![](https://tairuya.com/wp-content/uploads/2023/01/8-576x1024.jpg)
![](https://tairuya.com/wp-content/uploads/2023/01/9-576x1024.jpg)
![](https://tairuya.com/wp-content/uploads/2023/01/10-576x1024.jpg)
![](https://tairuya.com/wp-content/uploads/2023/01/11-576x1024.jpg)
No responses yet